Friday, March 23, 2012

Moved to Utah!

Its been a while since I have posted anything so here is a little update.

We have left beautiful Tri-cities Washington to live in Utah so we could be closer to my husbands work. We don't live near a big river any more but Utah does have beautiful mountains!
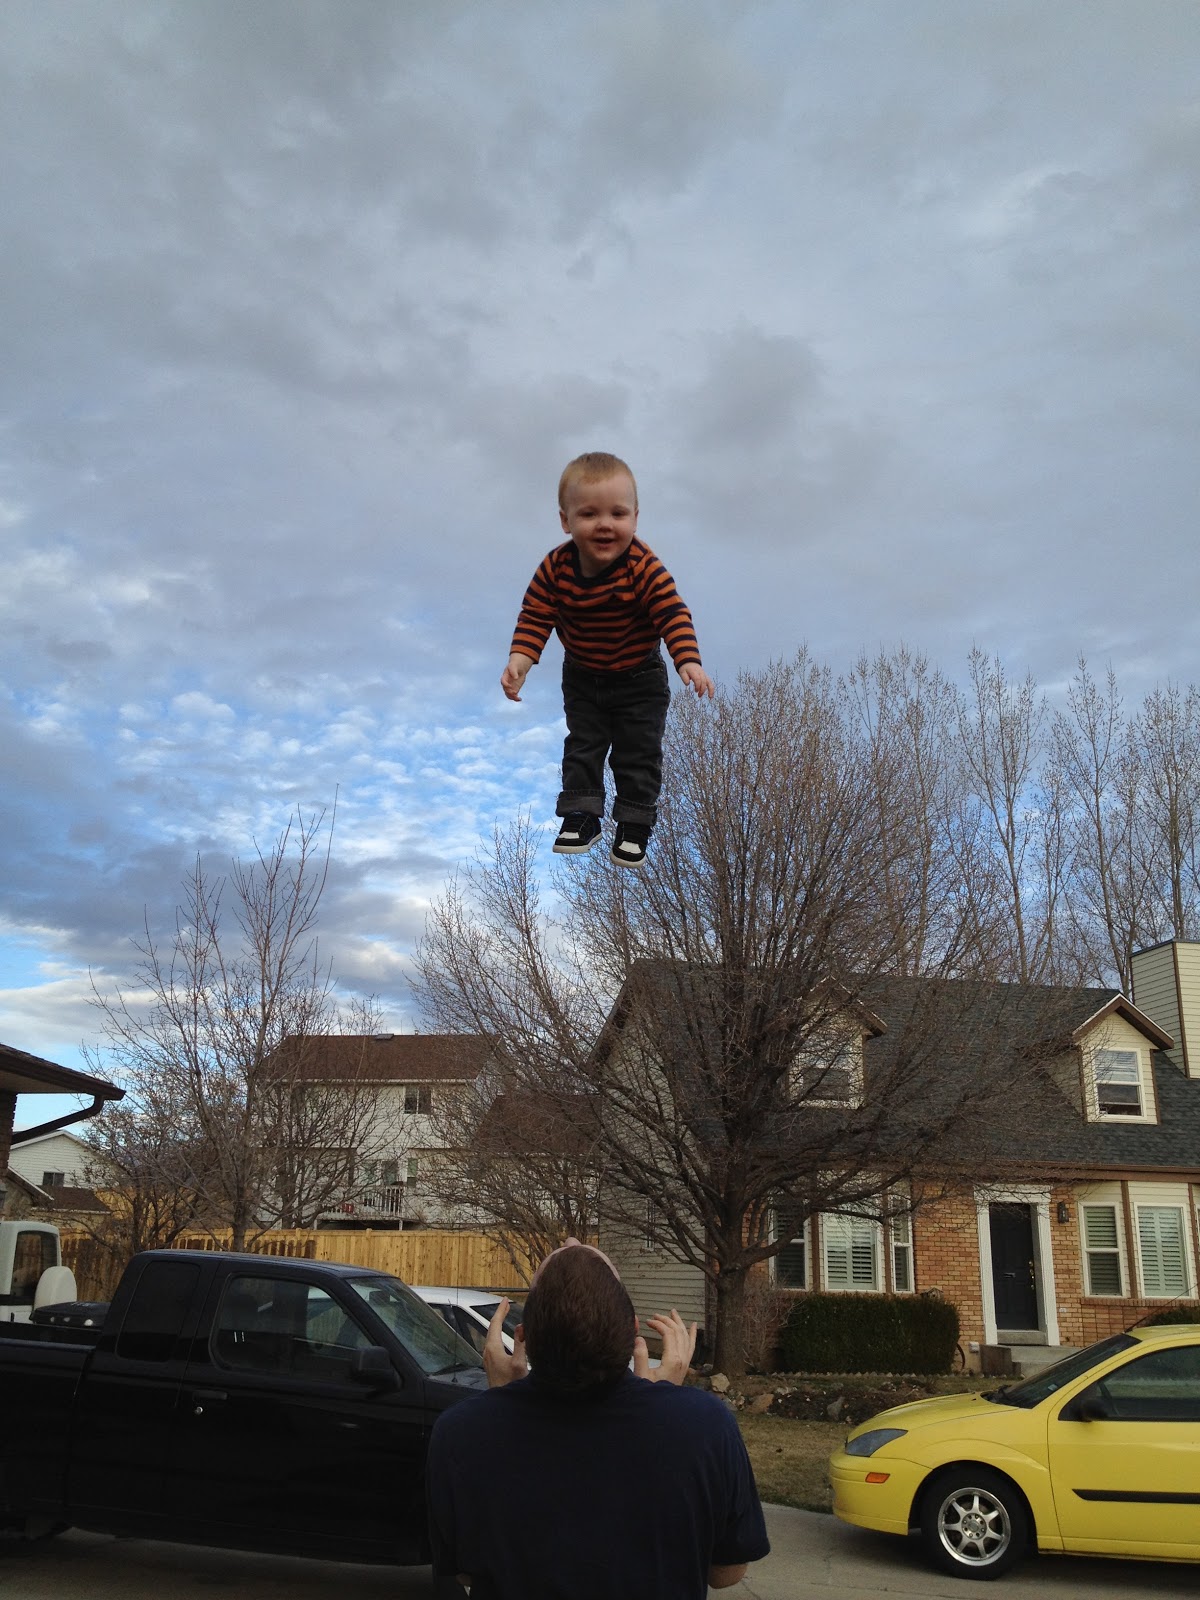
 This is our tenth (yes that is the # 10) move in 4 1/2 years. I have to say this was probably one of the easiest moves I have ever been through. My husbands work was nice enough to hire movers for us (honestly I think I would have lost my mind if they hadn't). I am very thankful to his work for keeping my sanity intact.  We were also very lucky to  have my sisters in-law there to help. They took care of Charlie for me while we were getting ready for the movers and while they were packing up our house. THANK YOU Charlotte, Brenda and Andrea! I don't know what I would do without you guys.

We made it to Utah safely and Charlie did better than expected on the 12 hour car ride. He did get a little fussy but that is to be expected when you are stuck in a car seat for that long. He spent a lot of his time playing with puzzles and making his stuffed bunny hop. 

Since we are looking for a house we put most of our stuff into storage, including my sewing machine and all of my many bins of crafts. I really miss my sewing machine! I guess I will just have to borrow my mom's until we can dig mine out of all those boxes. I will try to finish some new projects to show you guys soon.

Thanks for reading!

Wednesday, February 15, 2012

Kindle Case Tutorial

When you have a 1 year old running around your house, none of your possessions are safe. Charlie loves to play with anything that belongs to mommy or daddy, our phones, keys, wallets and computers. I probably spend about 50% of my day making sure he isn't getting into something he isn't supposed to.
A few days ago I caught Charlie playing with the kindle touch I bought my husband this last Christmas. He moved a chair close enough to our bed to climb on then got the kindle off of our dresser which is right next to our bed. After realizing how easily he could have just dropped the kindle on the floor and broken it, I decided it was time to buy it a case.
I looked at Wal-Mart and found nothing. They had cases for iPads and other electronics but nothing for the Kindle. I looked online and found a few cases that I liked but I didn't really want to spend a ton of money for just a case. So I looked through my plethora of crafting materials and came up with a plan.

I used...
1 Kids craft foam sheet
Elastic
Material
1 Button
1 Thin elastic hair band

1) Cut 8x11 inches of the foam

2) Cut 9x24 inches of the material
(If you are cutting your fabric on the fold cut 9x12)

3) Fold the material in half (good sides facing each other)
then put the foam in between it.

4) Sew the fabric around the foam and leave a 4-6 
inch hole so you can invert the fabric in a later step.
Make sure you don't sew over the foam!

5) Cut off the extra fabric except the fabric around the hole.
You want to leave the extra fabric there so that you tuck it in
and sew it down when the time comes. It should look like this.

6) Pull the foam out.

7) Turn your fabric right sides out. It should look like this.

8) Put your foam back in, fold under the extra fabric and pin down.

9) Sew a top stitch all the way around the case.

10) Find the center of you case and sew a straight line from
top to bottom. This will be where your case folds.
(Click the image to see it full sized with measurements)  
11) Add the Elastic. Measure 2 3/4 in. from the side, 

1 in. from the bottom and mark with a pencil. 
Then measure 3/4 in. from the side and 2 1/2 in. 
from the bottom corner and mark it. 
Do the same thing for both the top and the bottom .


12) Add the elastic hair band vertically centered of the
back side of the case and the button to the front side.

Here it is!


Thanks for reading!

Monday, February 13, 2012

Baby Skirts!

The past couple of days I have been looking through my fabric and extra craft stuff, trying to get some inspiration for a new project. I had some remnants from a project that I finished a week ago and there was just enough to make a skirt for my new baby. 
I didn't have a patter so I just made some thing really simple.
First I cut out a piece of fabric 32 in x 8 in, then  I used remnants of fold over elastic from one of my other projects. Since I don't have a baby to measure to make sure I am making this skirt the right size, I took one of the 0-3 month outfits I recently purchased and measured around the waist band of the pants. I ended up using about 17 inches of  Fold over elastic. Just to be sure that was the right size, I did a search online  for baby waist sizes and found a baby sizing chart.
Put the material wrong sides together and match up the ends that are 8 inches long then sew. Flip it right side out (you should have a tube). Next sew on the fold over elastic, you have to pull the elastic tight while sewing to get it all the way around the skirt, which can be a little tricky. I usually tack down about half a centimeter of the elastic before I start pulling it tight so that it is anchored down to the material. Once the elastic is on, hem up the bottom and your done!
Fold Over Elastic

I made some flowers on just for fun

I love the way this turned out

Each skirt took about 20-30 minutes


Thanks for reading!

Sunday, February 5, 2012

Ceramic Painting

My little sisters love anime and manga, so for fun my husband and I painted some mugs as a gift for them. Just so you know, I am not a painter or an artists so the mug I painted didn't turn out as nice as I would have liked. I figured I would show them to you anyway.
I bought some ceramic paint for $3.00 at Hobby Lobby, a paint brush set from Wal-Mart for about $4.00 and 2 mugs from the Dollar Tree.
I printed out a few images to use as an outline for my cup, then I practiced drawing them on paper. After practicing for a while I used a pencil to draw out the images onto the mug (this was very hard to do because the pencil kept rubbing off). Then I painted over the pencil outline and let it dry.  It took me a while to finish but that's because I had to paint one layer, let it dry, then paint another one, to get it to look right.
This is my finished product!
My Neighbor Totoro! 


 This is the mug my husband painted, he finished it in about three hours.
Ichigo from Bleach

Naruto!

Vash from Trigun.
I still haven't cooked them to keep the paint from coming off, but I hope to get that done sometime this week. I just hope that I can do it without totally messing up all of our hard work. Wish me luck!

Thanks for reading!

Wednesday, January 11, 2012

Baby Tights

Just a few days ago my husband and I found out that we are having a little girl! I am only 24 weeks along so I still have a long way to go before we see this baby, but I couldn't help looking at little girls clothes online. I found this wonderful pattern and it looked so easy I had to make it.
I used some material that I have had sitting around for a really long time, it was really stretchy and a really pretty shade of purple. I love it!


This was really, really easy to do and it only took about ten minutes. Pattern is for a 3-6 month old so it wont fit my little girl for a while, but she will eventually fit into them.

Thanks for reading!

Friday, January 6, 2012

More Diapers

Ok so I was going to try to make my own pattern for the new cloth diapers but I am out of PUL so.... I have been taking apart my old ones that didn't work and I've been altering them to make them fit Charlie a little better. I got rid of the pocket and added gussets to this diaper just like I did with the one in my last post. I also took it in a few inches so that it doesn't look so bulky in the butt area. I still have to try it on him and do a leak test, but it's almost 12:00am (I just finished the diaper about 5 minutes ago) and there is no way that I'm going wake him up for that.

Friday, December 30, 2011

My Attempt At Cloth Diapering

When I  found out that I was pregnant with my first son I was really excited. I spent most of my time on the computer reading about pregnancy and raising a baby. I found this baby cost calculator online that estimates how much you will pay during the first year of your childs life. When I went through and added everything up my costs came to almost 6000 bucks! Does it REALLY cost that much to take care of a baby for just one year?! I went through the cost calculator and started cutting things out.  I didn't really need a changing table, baby rocker, dresser or diaper bag (all of my purses are big enough to hold my kitchen sink, so they could handle a few diapers and a bottle). Then I realized that it wasn't just these big items that were making the costs go up it was the diapers, baby food, clothes and toys that we would be buying him. According to this calculator disposable diapers were going to cost me $72.00 a month, thats $864.00 a year! I could buy the all of those things that I cut out of the budget with that much money. They have an option for cloth diapers on the cost calculator as well, which was $19.00 per month if you washed them on your own. This price seemed a lot more reasonable to me but did I really want to try cloth?
My first thought was... AHHHH diaper pins! It honestly freaks me out to have anything so sharp next to a baby's skin and trying to put a diaper onto a wiggley baby, one of you is bound to get stabed.
Then I rememberd the pail of stinky diapers out in the garage next to our washer when I was a kid. Could I really wash those poopy diapers? My Mom cloth diapered my 4 siblings and I so it shouldn't really be that hard to do.
The inside of the diaper
I love this fabric
A few months ago I dicided to make a few cloth diapers to see if I would like it. If it didn't work out, then it wasn't a big loss.
Outside of the diaper
The pocket where the insert goes
I found a free pattern online for a pocket diaper and made a few. I used some prefold diapers that I bought on sale a few months back as inserts. Some were made with velcro closures and a few with metal snaps. The diapers looked really cute but they were not very efective. The ones with velcro never stayed on my son very long. There were quite a few times where I found my baby running around the house butt naked. Once I switched a few of the diapers to metal snaps that wasnt much of a problem but some of the metal snaps rusting once they went through the washer a few times.  I also had some leaking problems around the leg area of the diaper so I was changing Charlie's diaper every hour which was a little too much for me. I ended up moving back to disposables.
Since the last design didn't work for Charlie, I spent a few days trying to alter the old pattern to work for him. I took apart one of the old diapers and reused the material so if the new pattern didn't work I wouldn't waist money. I looked at a bunch of different diapering options online and watched a lot of diaper reviews. It was really helpful to get a look at real moms and hear what they liked and didn't like about cloth diapers. It made it a lot easier for me to decide how I was going to try to design my diapers. Thank you to all those moms and dads who took the time to do diaper reveiws and show us your diaper routines.
 Here is what I came up with.
Fold over elastic is awesome by the way.
I used plastic snaps and I love them!
Double gussets around the legs.


so cute!


For my new diaper I got rid of the pocket and added double gussets to help keep it from leaking, plus I used fold over elastic  and I changed the shape a little around the butt area. Once I finished the diaper I put it on Charlie to do the leak test. I finished the diaper later on in the day (around 5:00) and he wore it until his bed time (8:30) with no leaks! I will do another leak later to see how long the diaper can really last.
It still has a few things that I need to fix and alter, but it seems to work pretty well (at least it's better than the first ones I made). For the next diaper I think I am going to try making my own pattern from scratch so that I can get a better fit for Charlie. Lets just hope I can get it to work.


Thanks for reading!

Sunday, December 4, 2011

Wreath Tutorial #2

Here is another wreath tutorial. The women at my church made these at an activity last year and I was not able to attend, so I though this would be a good chance to give it a try.
I had to do most of this project while Charlie was asleep because he really wanted the hot glue gun. He has grown tall enough that he can reach things on the table now. He almost pulled the whole container of beans off the table, so I had to put everything away until he took a nap. I was lucky that he took one of his rare 3 1/2 hour naps, I was able to get a lot done.

The materials you will need are...
- 1 foam wreath
- pinto beans (any type of bean will work)
- hot glue gun
- glue sticks
- spray paint
- ribbon
- lots of time and patience


I started by gluing the beans around one row at a time .
I glued ....

and glued.
This is what it looks like close up.
It took me most of the day to finish adding all of
 the beans on the wreath.

Then my wonderful husband spay painted it for me.
I decided it wasn't as good idea for me to do the painting since I'm
pregnant.

Put 2 or 3 layers of paint on it and let it dry over night. Just remember when painting anything make sure that you do it in a well ventilated area. After you are sure that your paint is dry you can attach your ribbon and hang it on the door.